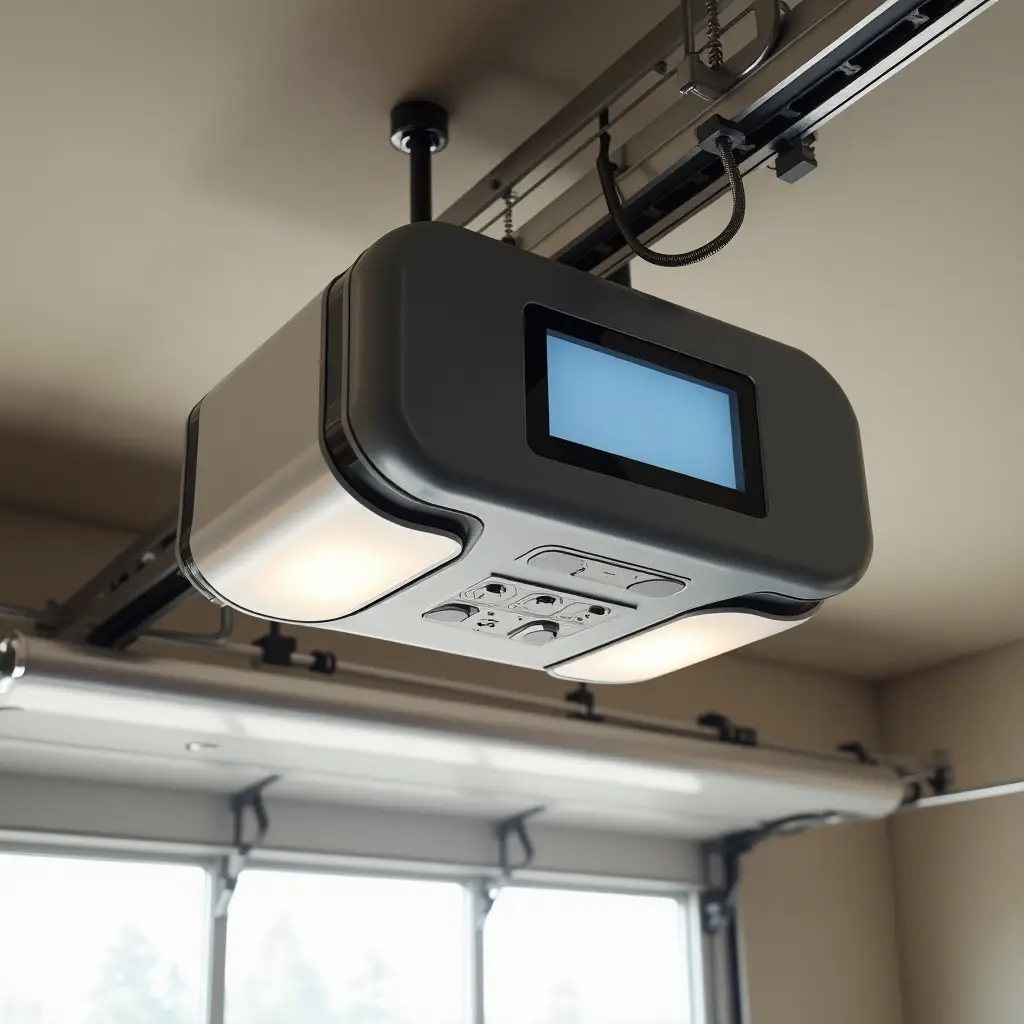
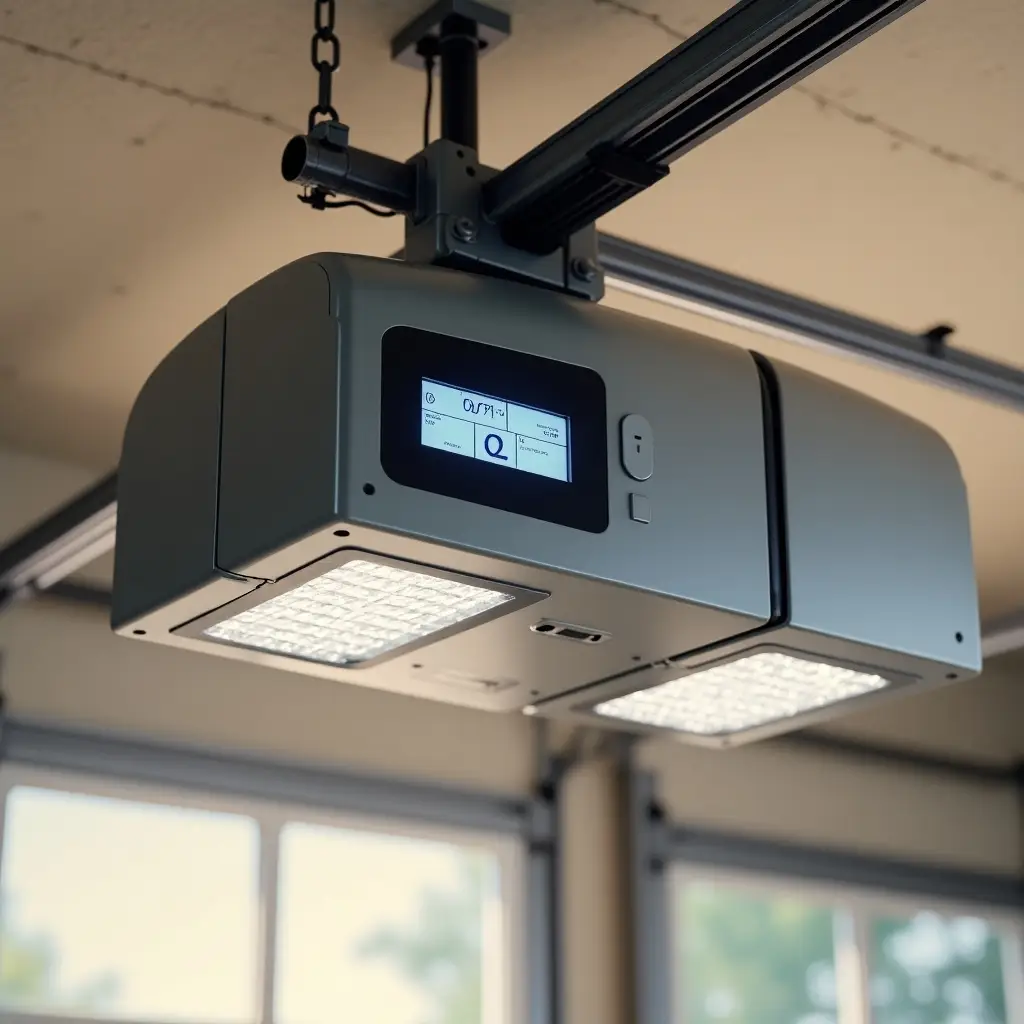
You may think installing a garage door opener would be a weekend project. Do you think it’s that simple? There is a common question among Santa Clarita homeowners: “Can I install a garage door opener myself? You’ll need the right tools, experience, and model for the job. Here’s what you need, how to do it, and when to call a professional.
An automatic garage door opener requires mechanical work, electrical wiring, and precise alignment. Make sure you have the right tools and basic knowledge before you begin.
If you lack any of the above, installation could be risky, not just to the equipment, but to you.

Here’s a simplified guide to installing a garage door opener by yourself. You should keep in mind that each model may vary, especially between chain-driven models, belt-driven models, and wall-mounted models.
1. Read the manual thoroughly: Start with the instruction booklet with your opener. Every model is different.
2. Assemble the Opener Rail and attach it to the motor: Lay out all the parts and connect the rail to the motor unit. Follow the exact order shown in the diagram.
3. Mount the header bracket above the garage door: Use a stud finder to locate solid wood, not just drywall. This holds the rail in place.
4. Install the Rail and Door Opener to the ceiling: Secure the opener with angle irons or heavy-duty brackets. Use a level to align everything.
5. Connect the opener arm to the door: Attach the curved and straight arms to the opener trolley and the door bracket.
6. Install safety sensors: Mount sensors 6 inches below the floor on both sides of the garage. Make sure they align perfectly.
7. Wire the wall control and connect to Power: Drill holes as needed. Plug into a grounded outlet or hardwire it as required.
8. Test the Door Function: Check travel limits. Ensure the door opens fully and closes securely.
9. Adjust the Force and Limit settings: Fine-tune the open/close force for smooth operation. Test the safety reverse system.
10. Programs for remote and Wi-Fi (if applicable): Set up your remote controls, keypads, and smartphone connectivity.

✅ DIY Pros:
Save money on labor (average installation cost: $150–$300)
Learn how your system works
Complete the task on your schedule
❌ DIY Cons:
Takes 4–8 hours, depending on experience
Risk of electrical mistakes
Void manufacturer warranties if not installed correctly
Lack of tools may require more spending
✅ Professional installation pros:
Done in 1–2 hours
Includes a balance check, safety test, and warranty
Handle any surprises like uneven ceilings or tight garages
Santa Clarita installers offer free unit removal
❌ Hiring a Pro Cons:
Costs more upfront
May need to schedule days in advance during busy seasons
DIY garage door opener installation is possible, but it’s not for everyone.
If you are:
Calling a licensed professional is the best course of action. You need to be careful. Incorrect installation can result in injuries, damaged gear, or a door that does not function properly.
It’s a great feeling to have peace of mind as a homeowner in Santa Clarita. There are local companies that offer same-day service, fair pricing, and full warranties. In many cases, that’s more valuable than saving a few hundred dollars up front.

At Ring Door Doctor, we’re proud to offer trusted garage door repair in Santa Clarita, CA, with 6+ years of family-owned experience. From quick fixes to expert diagnostics, we’re here to keep your garage running smoothly. Count on us for honest service, fast response, and lasting results—your local garage door experts!